- Introduction
- Theory
- Equipment
- Foods and why sous vide is perfect for an Keto lifestyle.
- Best practices, other thoughts.
- Futher Research and info…
- About me.
1. Introduction:
My elevator speech on sous vide: Sous vide is an cooking technique where you cook at a precise lower temp to do 2 main things, cook items to a specific temp and pasteurize them.
To start Sous vide you do not need any fancy gadgets or gizmos, you can even start with just a thermometer, freezer zip locks, and a regular cooler.
But with Sous Vide circulatory now reaching under the $100 mark at retail stores, I think it is a must have for any ketogenic kitchen.
2. Theory
We cook to pasteurize and make food tender. Adding heat does both of these things. The USDA has safe recommended internal temperatures. (Source). USDA Beef has a recommended internal temperature of 145F (62.77C) + 3 min rest, which reaches salmonella lethality at 6 mins at 145F. (USDA Table, PDF Warning) So the time and temp is based upon a reasonable time to reduce salmonella in raw proteins.
Sous vide allows you to cook your proteins at a lower temp, which results in a better end result. Chicken breast cooked at 140F is absolutely spectacular for chicken salad, this is a far cry from the 165F chicken we all have learned while growing up. Cooking chicken at exactly 140F requires some precision, technique, and time, this is where sous vide comes to play. Sous vide gives you the ability to cook your chicken breast at 140F for 25.2min (*this is from the USDA table and doesn’t account for protein heat up time)
3. Equipment
Beyond pans, pots and typical kitchen items… 2 other steps are needed with Sous vide. Vacuum Bagging and precision water circulation/heating.
A Beginner setup (is sous vide for me?):
Cooler, yes that cooler you pack for picnics or tailgating, a thermometer, some ziplock freezer bags and a way to heat water, (i.e. kettle, pot etc.)
With this setup it is very rudimentary and easy to get started in sous vide.
- You put your protein in ziplock freezer bags, slowly submerge the ziplock in water… this will create air displacement and a very basic “vacuum”, before the bag opening is under water… seal the ziploc tight.
- Next you heat up some water with your preferred method and using your thermometer mix water to your desired temperature.
- Add this water to your cooler, (it is best you preheat your cooler to help maintain your initial temperatures)
- Close cooler and recheck temperature in 5 mins… be prepared to add more hot water.
- Once your water is set at your desired temp… place your proteins in the water in the cooler… ensure it is submerged. And again check water temp… add hot water, remove cold water as necessary.
- Now you repeat this temperature water step, keep adding water as necessary… removing some water to create space. You will get a feel how often you have to add water to maintain temp and how much to remove, the cooler will help insulate and keep the everything in a nice warm bath.
- Start your timer… watch your temperatures… let it cook.
- At the end of your timer, you can unbag your protein, compete finishing steps if necessary, (i.e sear, broil, grill or smoke) and enjoy.
Alright Sous Vide is for me… What Do I buy? AKA typical home use. (Disclaimer: these are my opinions, but I hope to give you what has worked for me and what hasn’t)
Vessel to sous vide in:
- An ordinary old pot. When I started I also used my large stock pot, it was the only thing that I had that held over 2 gallons. I did have a cooler, but coolers are ugly on the counter, I had guests coming over, the shiny stock pot was just the ticket.
- 5 gallon bucket from your Big Box store… I used both a blue bucket (lowes) and an orange one (home depot). Both made wonderful sous vide, but in the end it was a end to a means. I needed 5 gallons of volume.
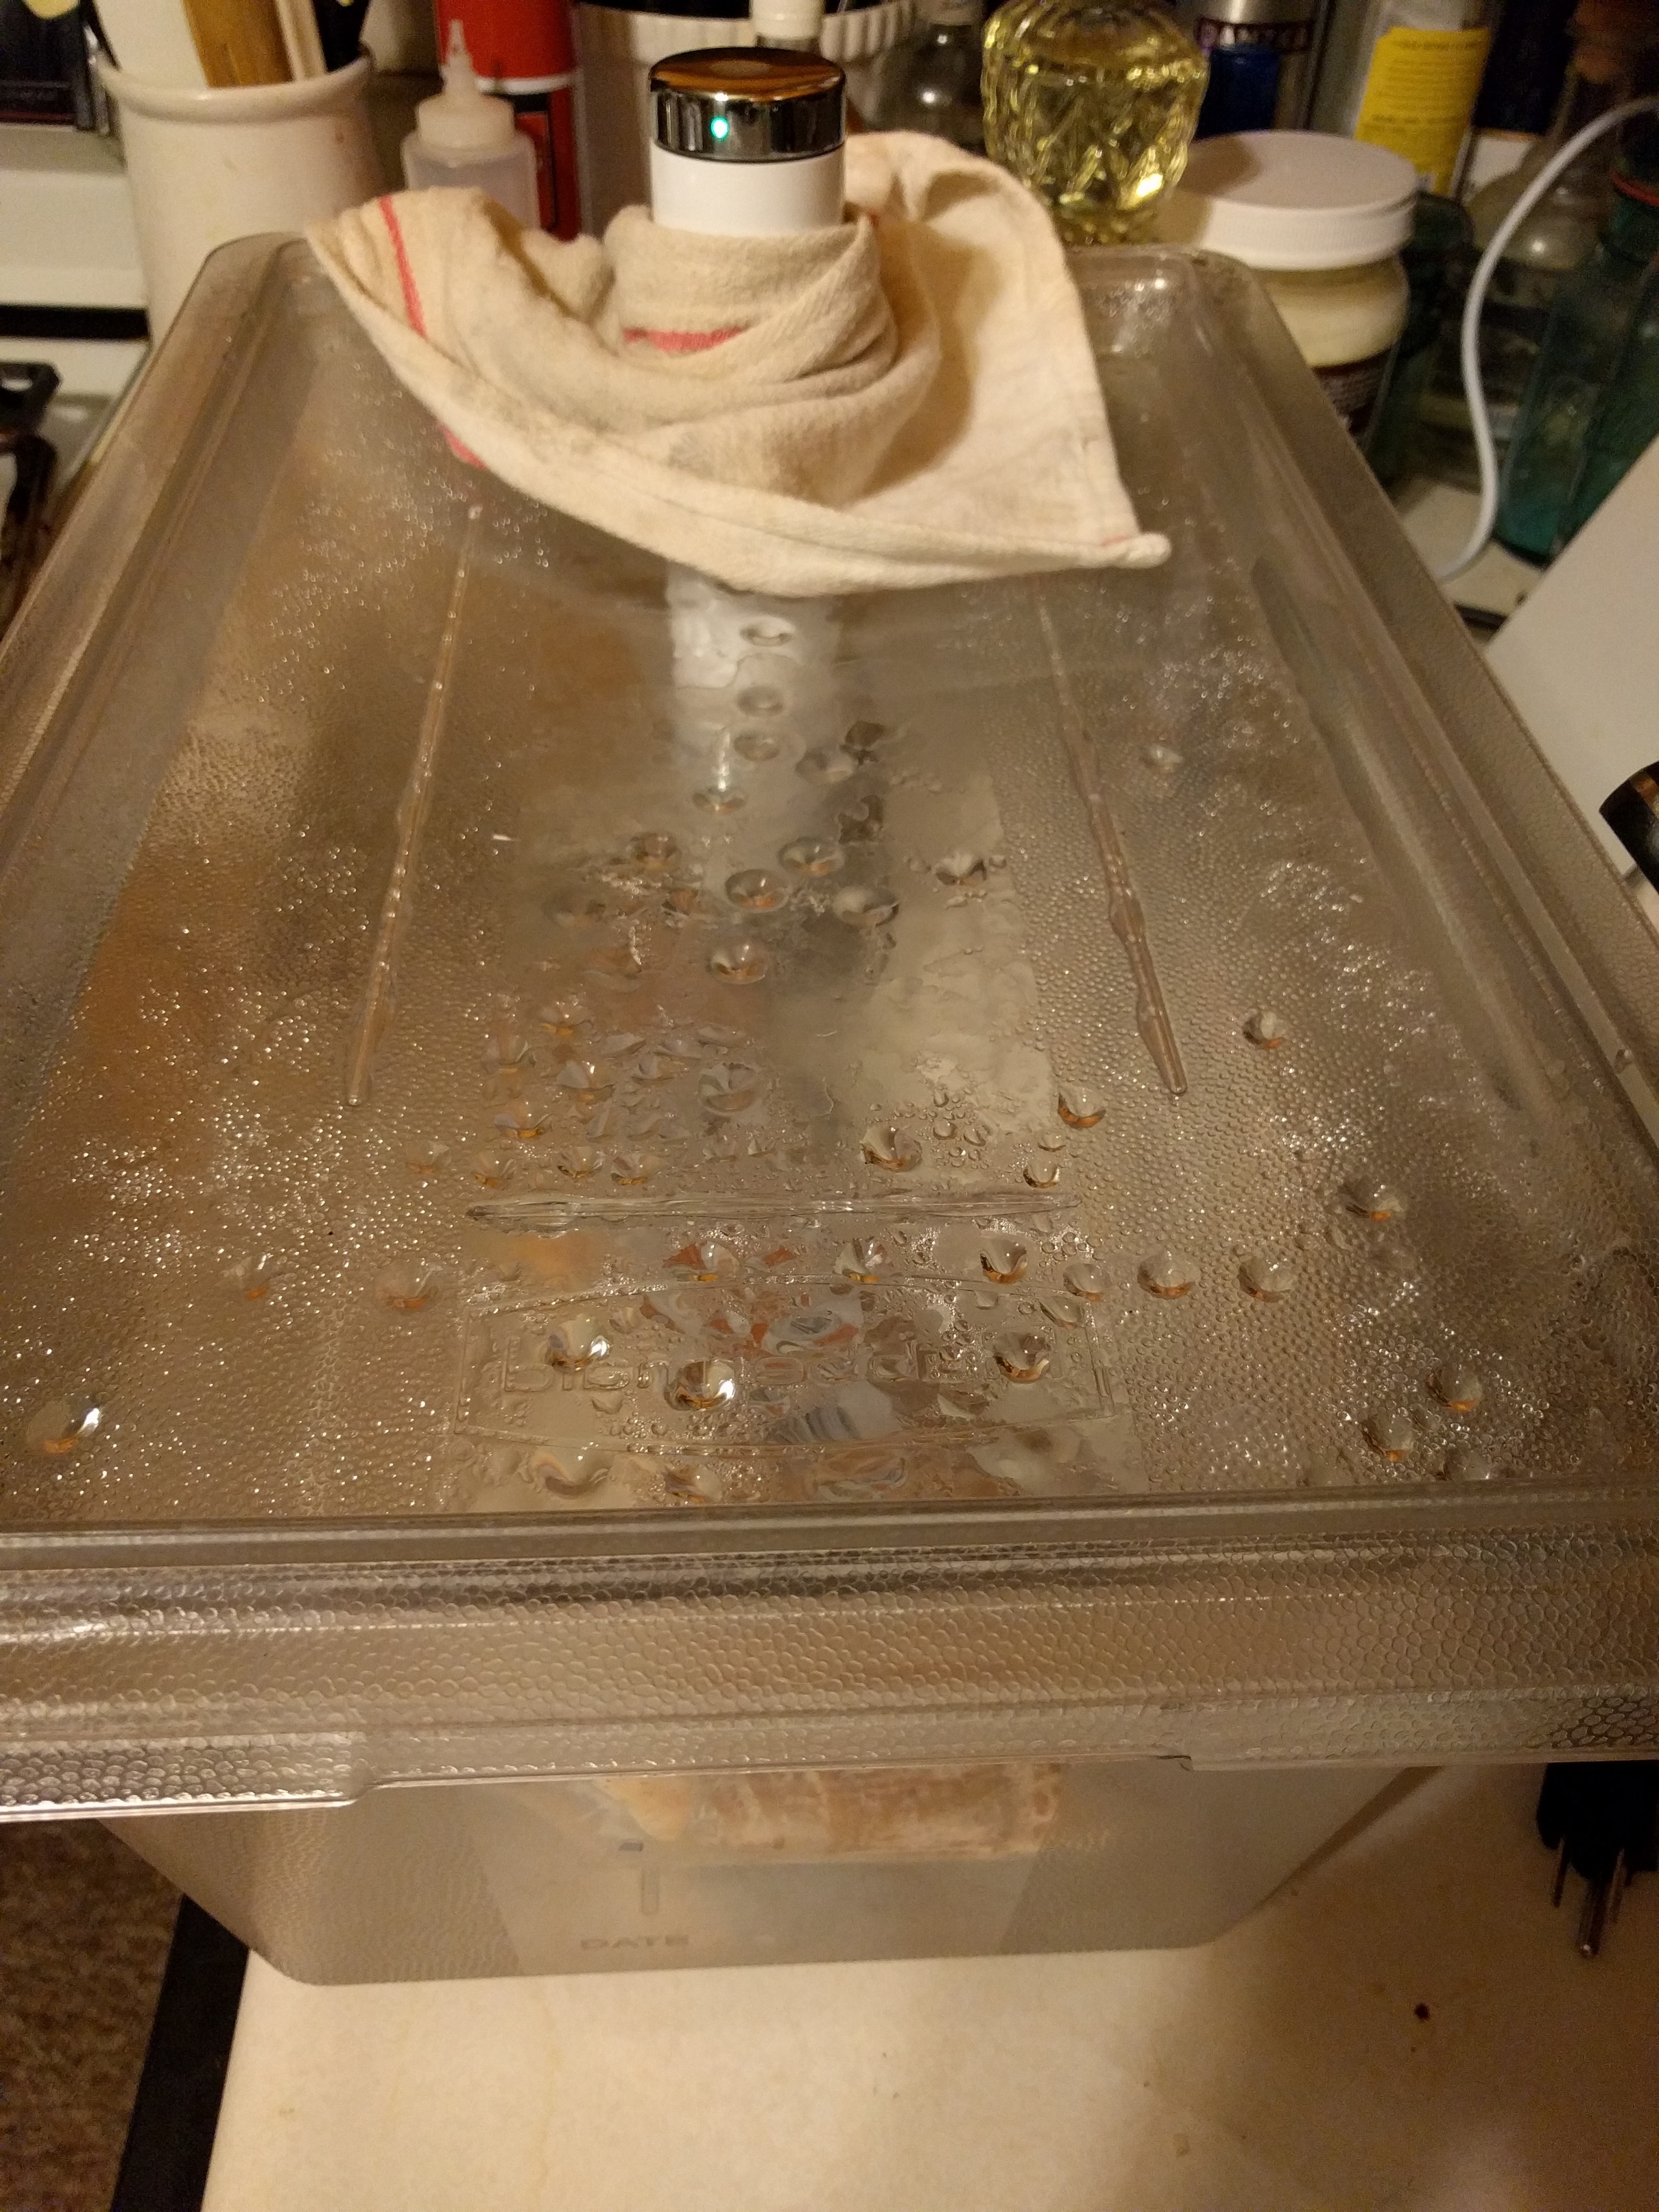
- A NSF Restaurant container. Made of Clear plastic and sold separately a lid. The typical names are Cambro and Rubbermaid. Either one works, I went with Rubbermaid due to the fact it was half the price of the Cambro and I could get it delivered by the Amazon gods.
Sous Vide Circulators: (Sous Vide Water ovens… I have no experience with them. See below**)
- Anova circulator: I own the wifi version, the bluetooth version was retailing for under $100 this holiday.
- Chefsteps Joule: I own an initial release Joule, they are currently retailing for $199 at chefsteps.
- Other Home Circulators
- Other Professional Circulators.
For the home cook, stick circulators are the bees knees, size factor, portability and connectivity. You fill your vessel with water, place your sous vide circulator in the water, clamping or attaching as advised, then turn on your circulator and start the water heating process to the temp desired. (The joule is app only driven, so you’ll have to use your phone/tablet and app to turn it on.) That’s is it to starting your sous vide cook, it is also why I enjoy my circulators immensely.
Vacuum or not to vacuum:
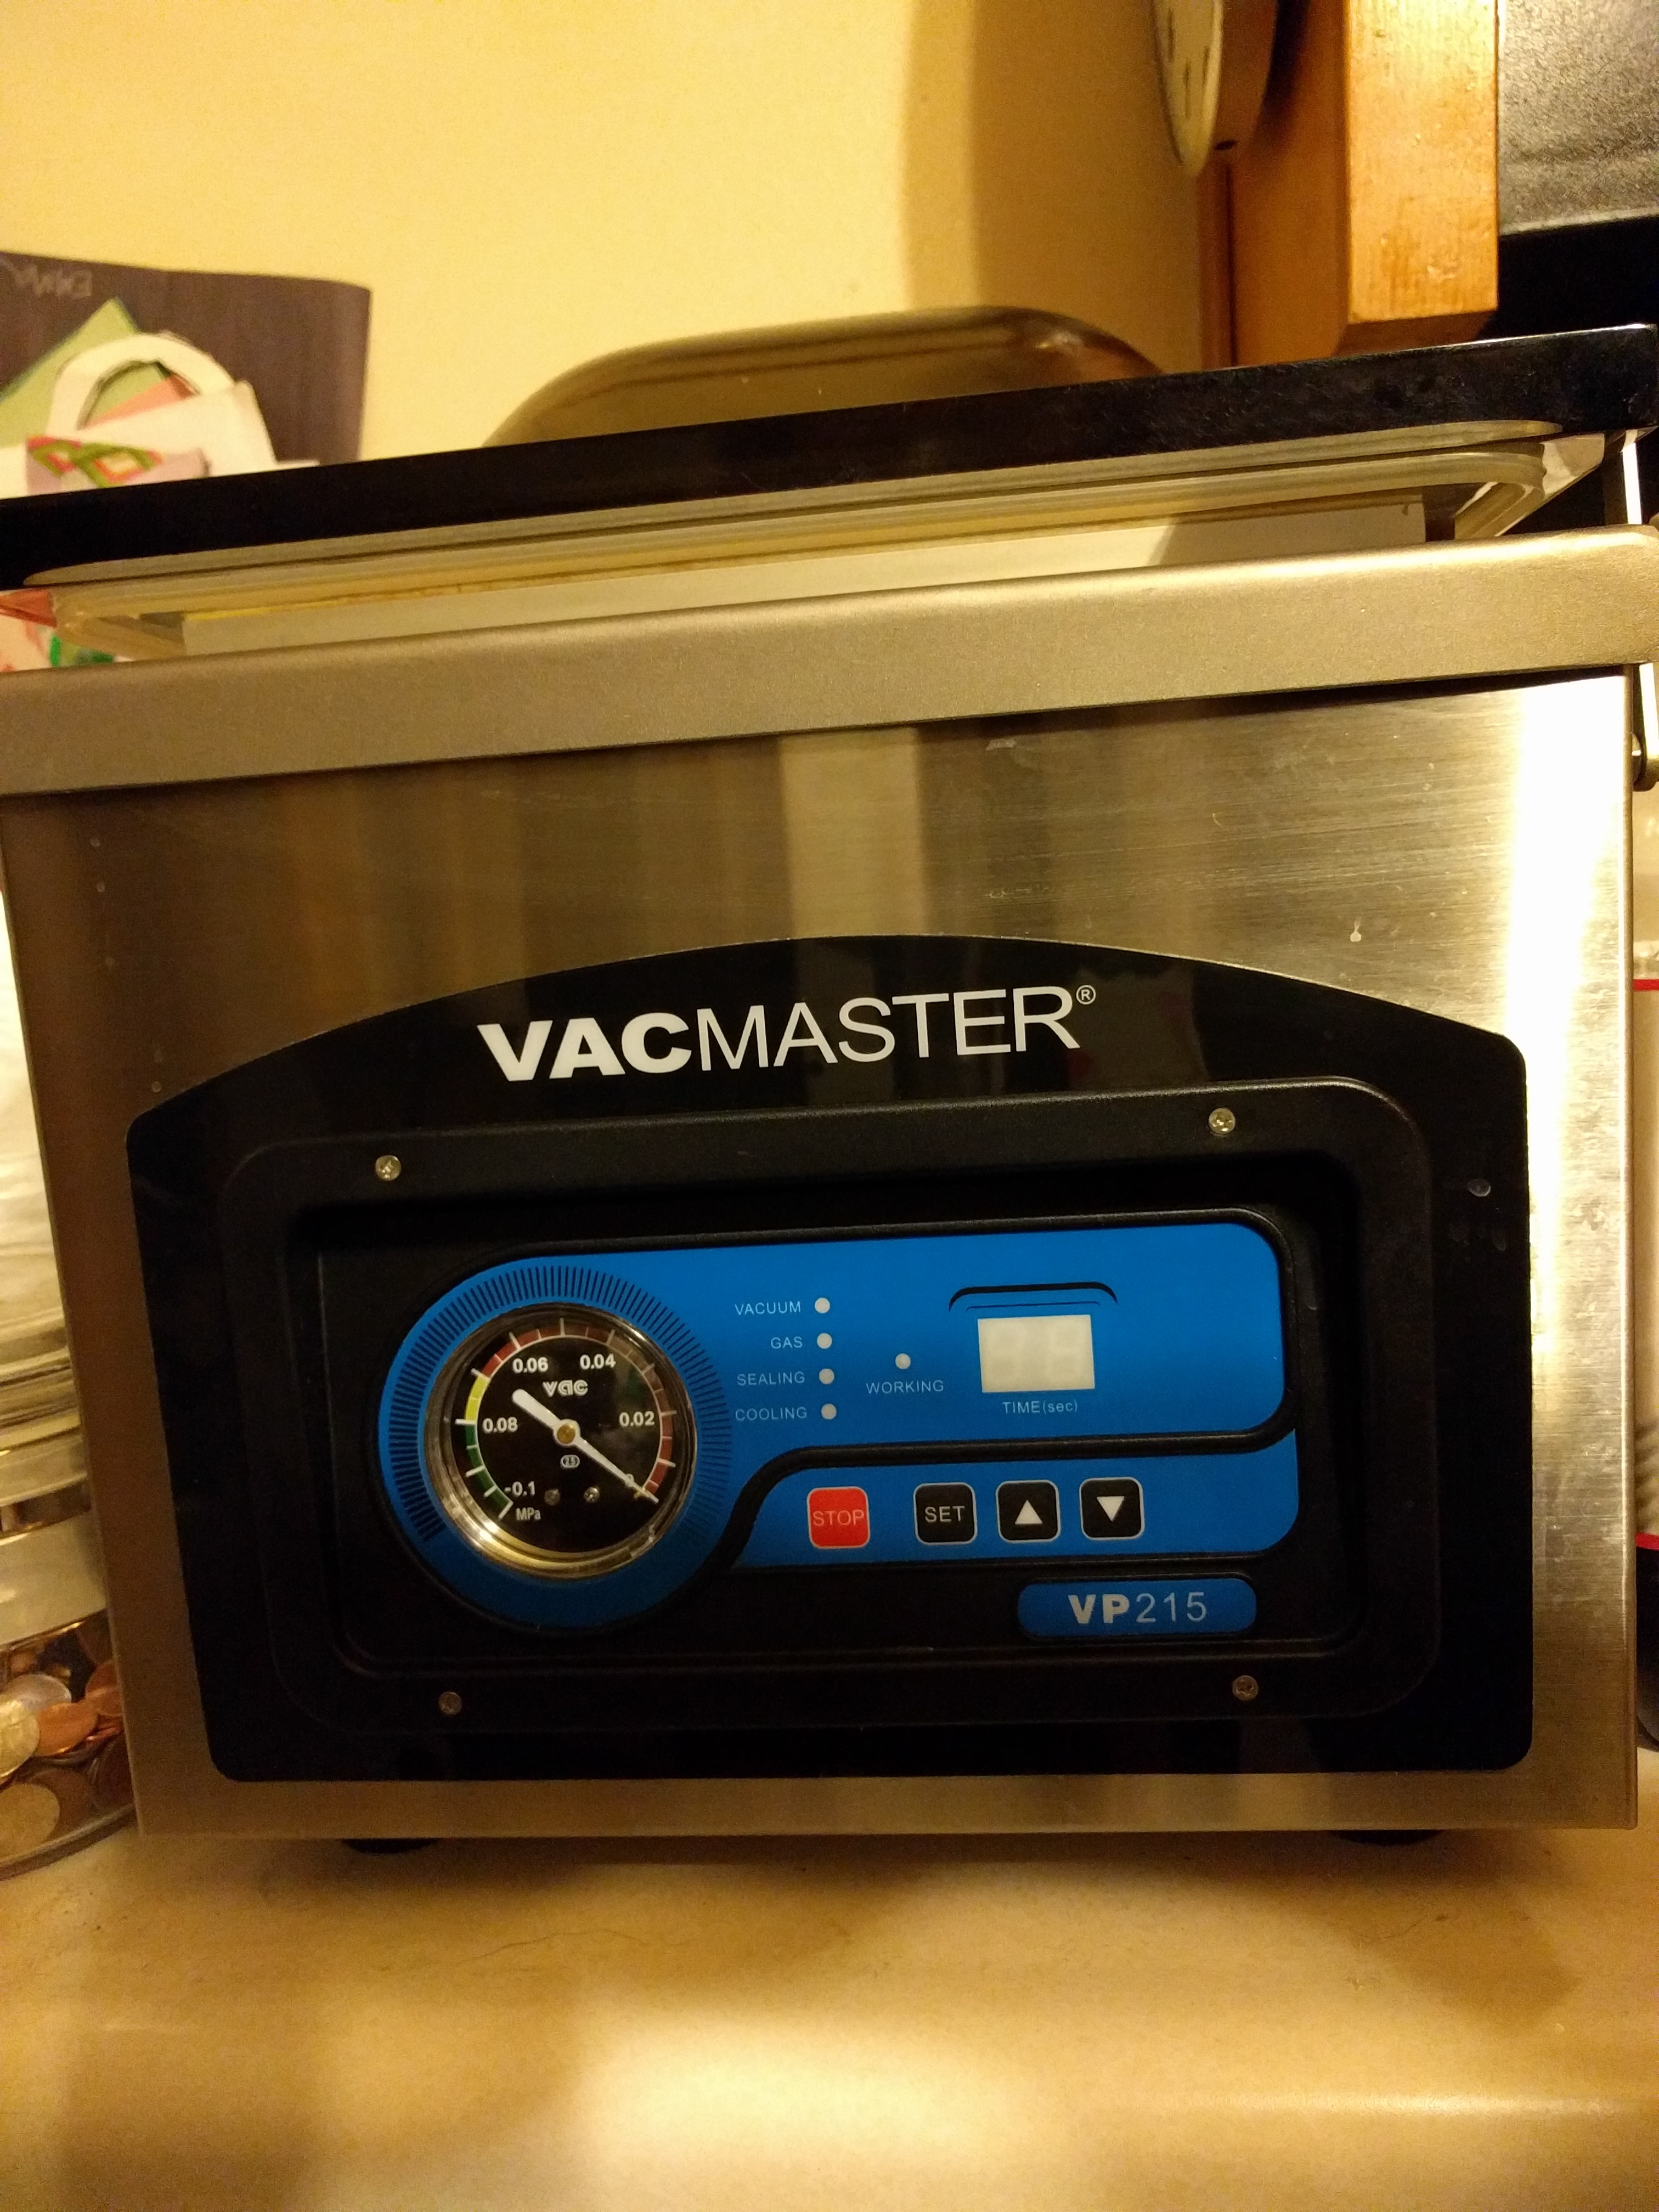
Like many starting out to sous vide, I started with the water displacement method for vacuuming sealing my food in sous vide. I still use this method for delicate proteins, this means hamburgers in my household.  But after a stint with a channel vacuum sealer(i.e. foodsaver), I purchased a chamber vacuum sealer, I unequivocally love my Vacmaster VP215, it is absolute overkill to just buy this chamber vacuum for sous vide, but I have no regrets. Match to your budget and needs, a channel vacuum sealer that sells for $35 on sale is more than enough. I even spent my 1st 3 months of sous vide with only water displacement technique. Below are my thoughts and highlights of each:
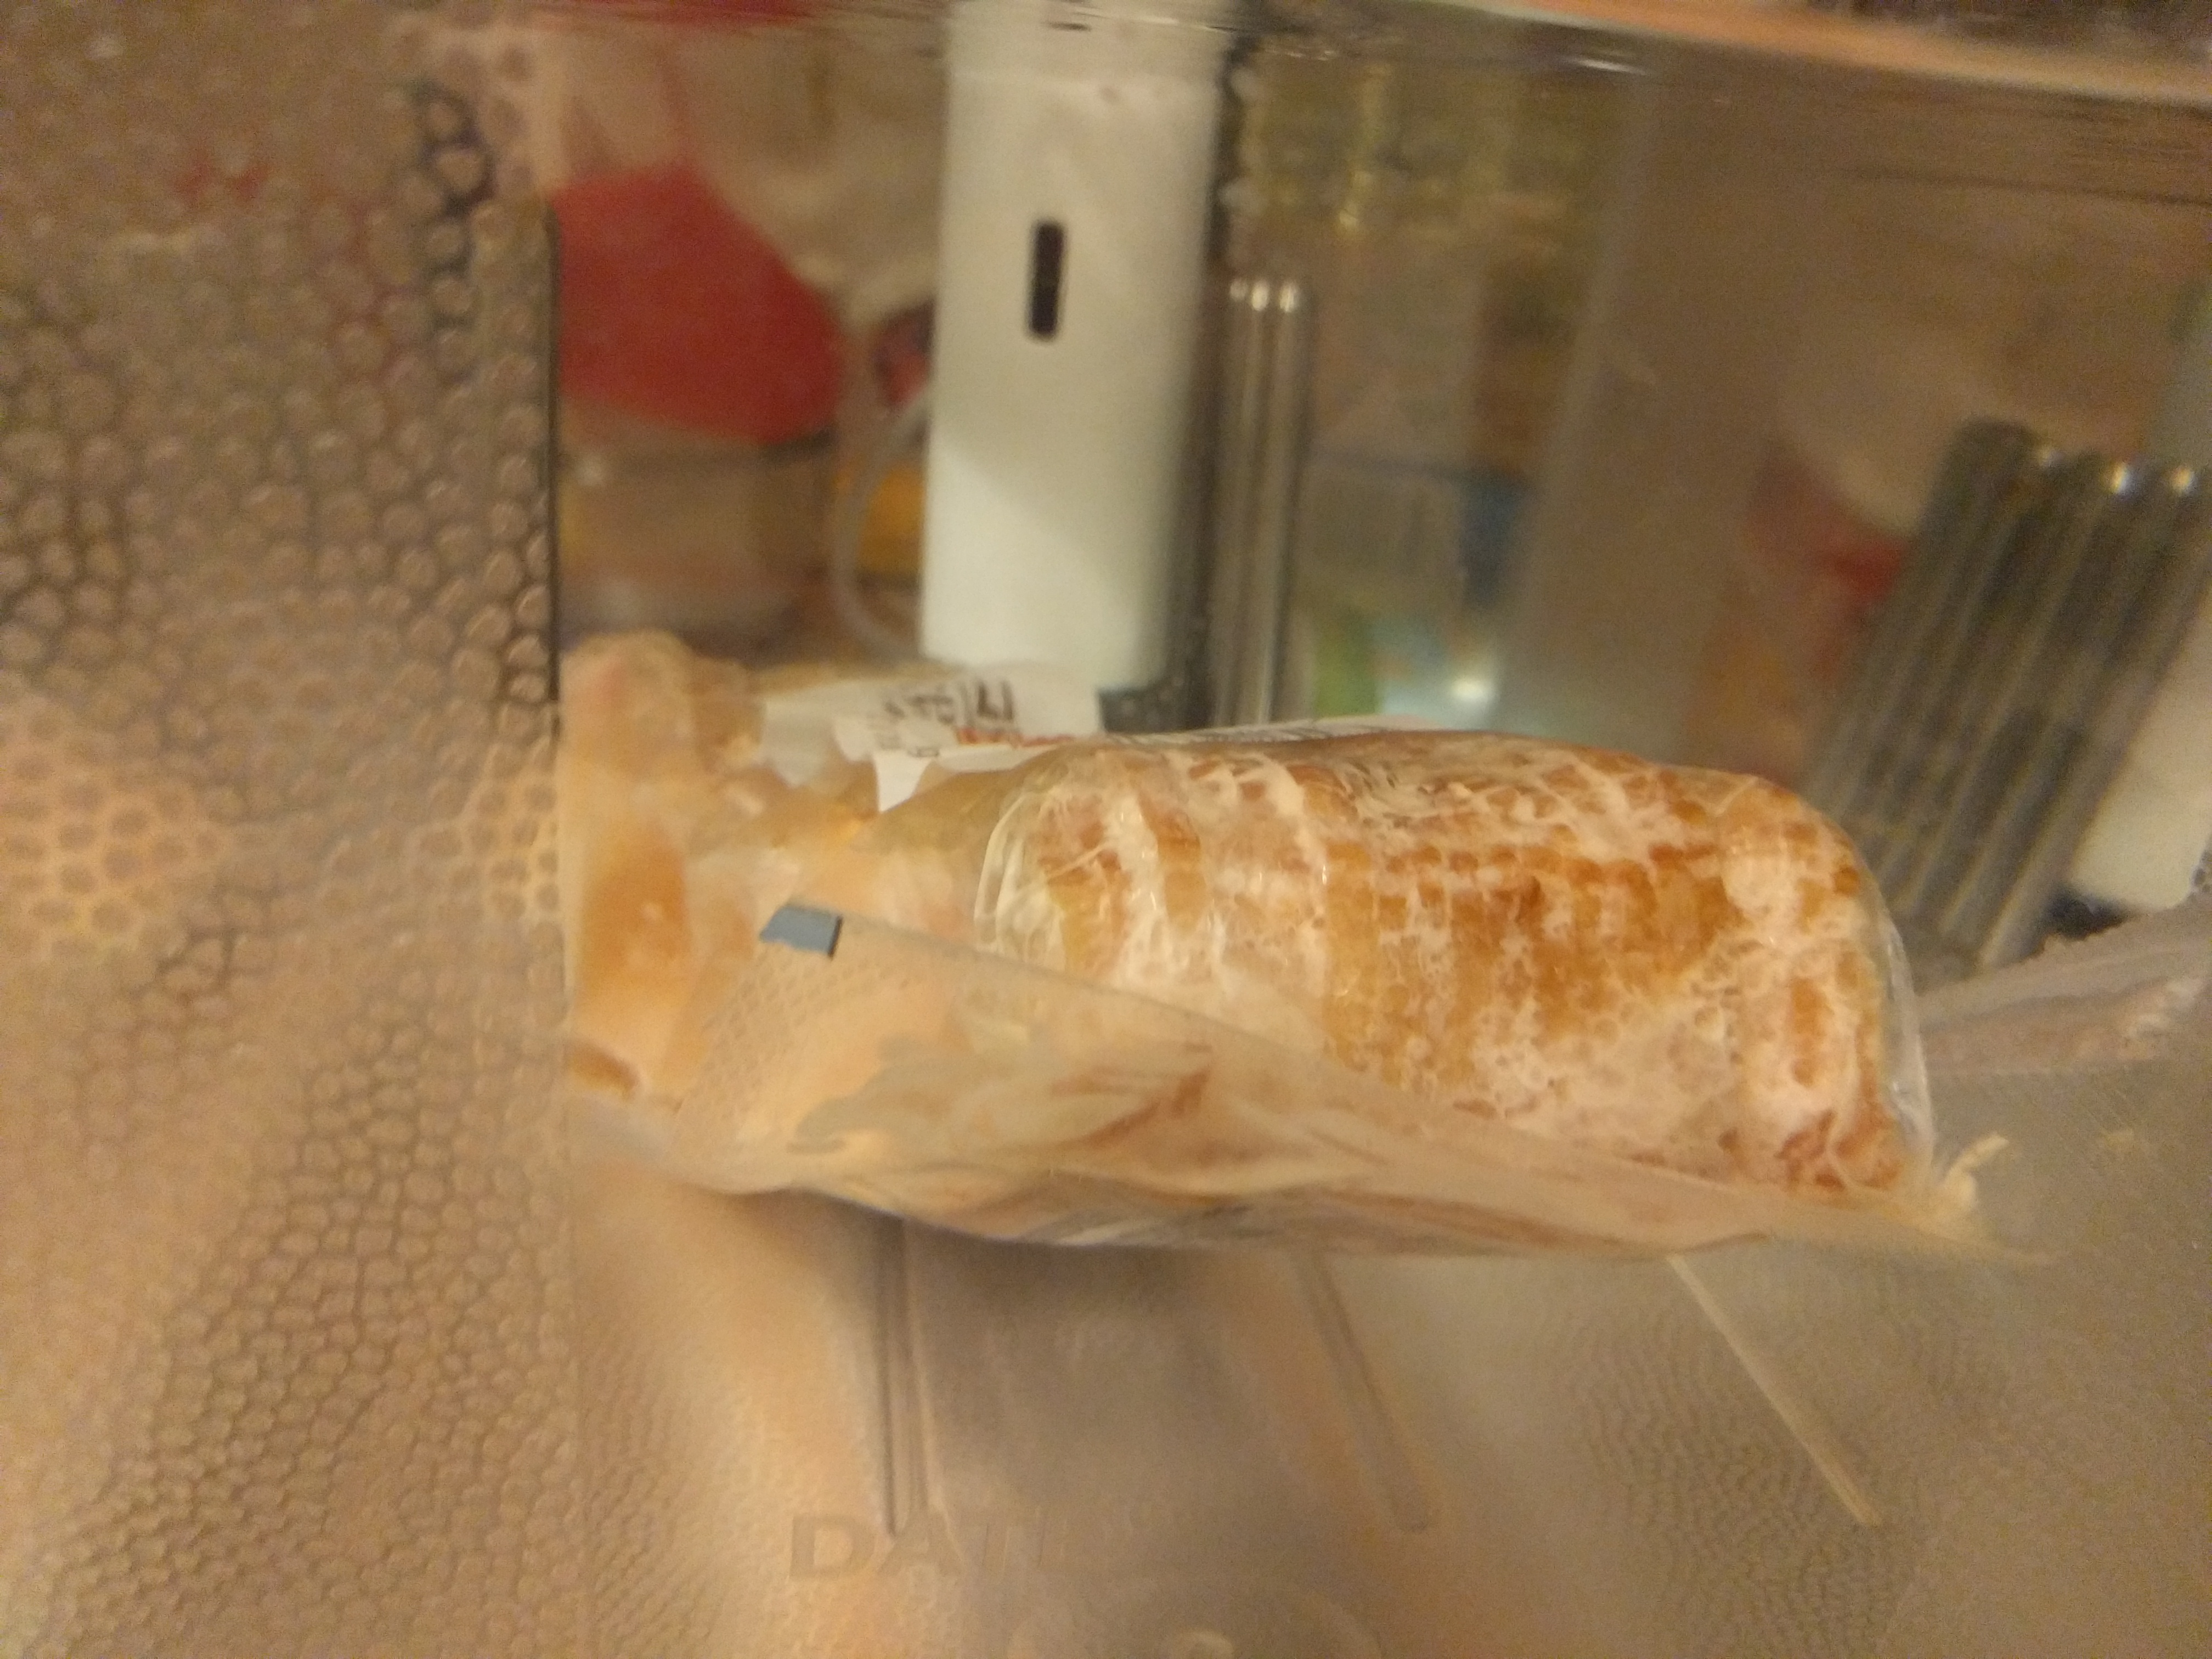
- Water Displacement - Ok so seriously use Ziploc Branded freezer bags. I was using soo many bags at one point, I decided to try some store brand freezer bags (Aldi and Target), both store brands failed me at more than one time at different cooking temps. Water displacement is very fast, no vacuum sealer needed, just a tank of water (which luckily you already have a vessel with water in it) to complete water displacement.
- Channel edge-style Vacuum Sealer - Brand names are Weston, Foodsaver, Cabela’s. Here the bags themself have little channels built into them, which allow the vacuum sealer machine to remove air. The bags are more costly per bag, but still reasonable if you purchase from a reseller on amazon or vacuum sealer bag specialist. One of the bonuses… Bags can be made from rolls, so a very long bag is possible. Limits are only on width!
- Chamber Vacuum Sealer - These are more of the commercial quality of vacuum sealers. A regular vacuum sealer bag, think 3-4mm plastic bag sealed on 3 sides. You place your food stuffs in the bag, which goes into the chamber, the chamber vacuum then creates a vacuum inside and then seals the bag. These machines are large, even my small chamber vacuum sealer takes up about a 2ft by 2ft spot on my kitchen counter. But the speed and quality of my vacuumed pouches are amazing. A downside is you are limited to your chamber size for how large of a vacuum bag you can use.
4. Foods and why sous vide is perfect for an Keto lifestyle.
Sous vide can take cheaper cuts of proteins, like chuck roast, and make it it taste and feel like a filet mignon, it just needs time and the precision temp cooking of a circulator. This christmas I made a 50+ hour roast, indescribable was amazing a $2.99/lb chuck roast turned out. No one at the table realized it was just a chuck roast, everyone asked if it was prime rib. Budget friendly in a Keto world…
My refrigerator is stocked with sous vide cooked proteins, chicken, beef and pork. This is handy for anyone with a family, the ability to walk in the door and already have items prepped and ready to go. Just a quick warm bath to warm up the cooked protein then a finishing sear, I can have dinner ready to go with in 10 mins of starting to “cook dinner”. (My typical workflow is start the sous vide warmup on the drive home… drop the proteins and vacuumed vegetables into the water bath as I walk in the door. Work on homework with my kids and get them ready for dinner, cleanup from the days activities. When it is time to “cook dinner”, pull items out of bags, fire up a pan and sear quickly then make a pan sauce, 10 mins tops.
Lastly go into crockpot mode, since sous vide is precision cooking and time, use time to your advantage. Many of the longer cooked proteins, chucks, roasts, briskets, just absolutely shine at 48+ hours. Just knowing my brisket I started on Wednesday cooking and being awesome, will be ready for a great family dinner on friday, is one of the many reasons why I love sous vide.
5. Best practices, other thoughts.
All this talk of proteins, what about vegetables? Vegetables also benefit in taste and texture from sous vide. The only problem is many vegetables need 190F+ to break down the fibers and reduce the toughness of the vegetables. Added that the proteins are cooked at a much lower temp, it causes logistic problems for a single sous vide circulator owner.
Ok so all this talk of cooking in plastic and hot water, but is it safe? Short answer yes, long answer is answered by modernist cuisine much better than I can ever say. Is it safe to cook with Plastic?
Eggs… a staple of most keto diets… Do you like perfect soft boiled eggs? Sous vide is a solution for that. Serious Eats Sous Vide Eggs 101
6. Futher Research and info
Links:
2ketodudes Chuck Roast Recipie
Douglas Baldwin Sous Vide - Free Book and Time/Temp Charts
Serious Eats Sous Vide
Chefsteps Sous Vide
Reddit Sous Vide
7. About me.
I am an affirmed ketoholic, started on 9/15/2016. Sous Vide home user starting in Jan of 2016. I try to make tasty meals for my wife and 3 kids. Luckily they eat just about anything I put in front of them.
(Too be continued…)